If you remember from my Halo Energy Sword, I had taken apart a Force FX Lightsaber to get a sound card for that project but I left the hollow shell of the lightsaber alone on the side. After a few times of looking at the empty shell, I figured it was an easy mod to turn the shell into a 1000 lumen lightsaber flashlight.
The Parts:
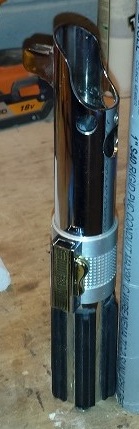
1) The Shell of the old Lightsaber
2) 4 C cell batteries (they fit perfect into the 1" pvc pipe)
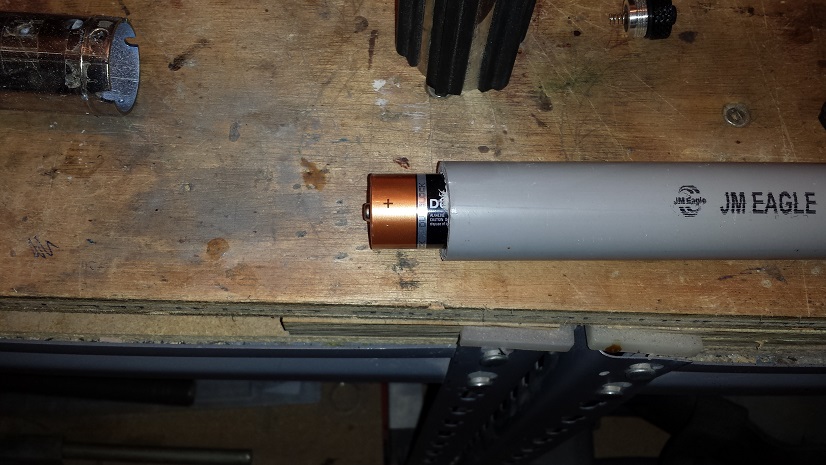
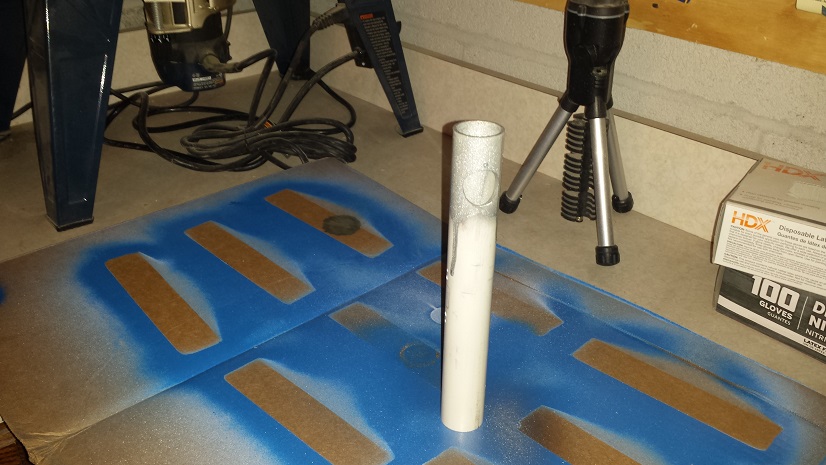
3) 1" pvc pipe (see above picture)
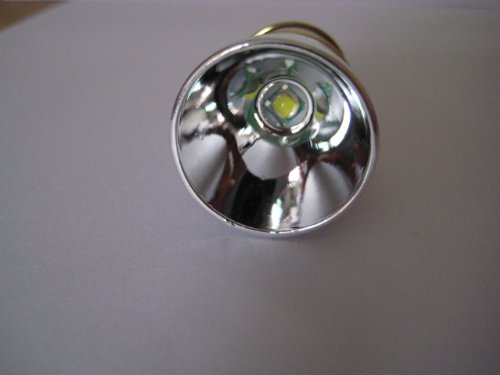
4) LED bulb
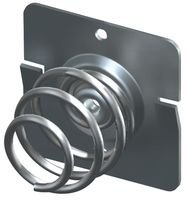
5) C Cell Negative Battery Contact
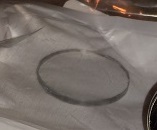
6) A piece of Plexiglass cut into a 1" round circle.
7) Cheap dollar store flashlight with nice on off switch. (Yes, I know the irony of needing a flashlight to make a flashlight, but you have to remember, I am enjoying a full sized lightsaber flashlight infinitely more than a dollar store one.)
The Steps:
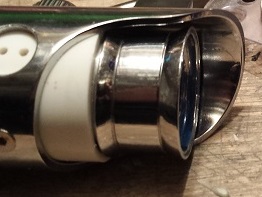
I started by completely dismantling the shell lightsaber so that it looked like the shell in picture 1. From there, I took the inner shell that I removed and cut where specified below:
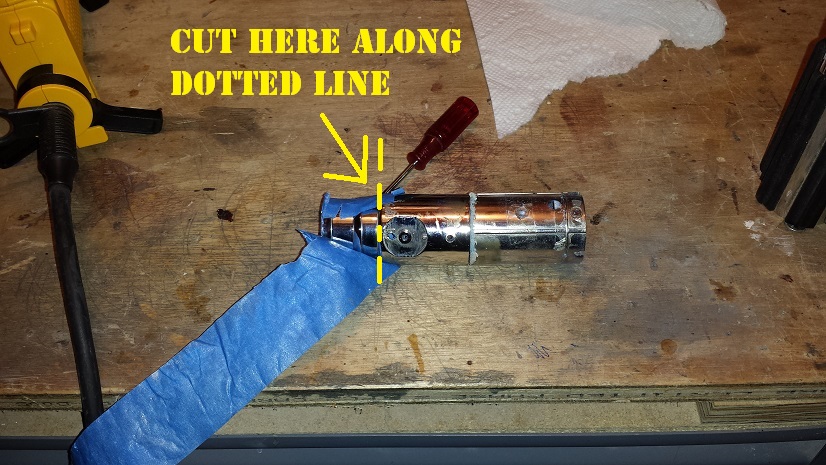
Next, I took the one inch PVC pipe and use a dremel sander to widen the hole. I did this so that the top of the lightsaber that I cut above fit snug in place.
After I had a good fit, I removed the top of the lightsaber, dropped the bulb and 1" round plexiglass in, then put the lightsaber top back on which basically crushed the bulb in place.
I used a small screw (hidden in the back) behind the top of the lightsaber through the pvc pipe to keep the top from coming out.
Next step was to cut the pvc pipe so that when all 4 C cell batteries were inserted, the last battery would have a 1/4" reveal at the negative terminal.
Next step I did was drill a 1/8" hole in the bottom of the lightsaber screwcap.
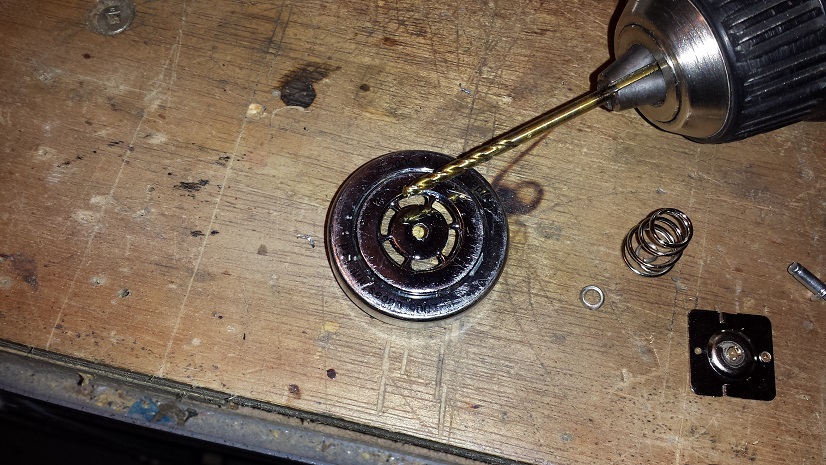
Next, I removed the spring from the negative terminal contact, used a rivet and washer to secure it to the lightsaber screw cap.
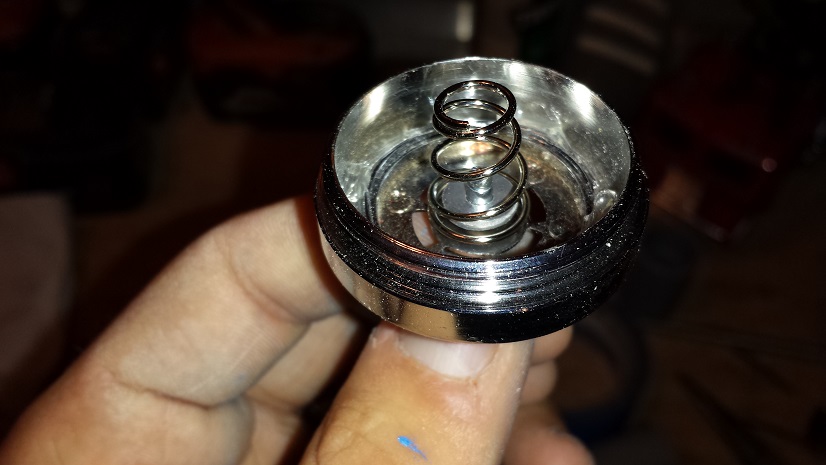
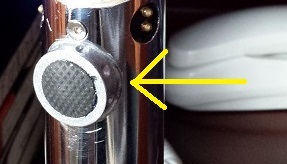
Next I needed to get the dollar store flashlight on/off switch spring to make contact with the negative on the LED bulb.

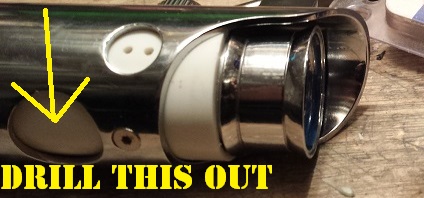
I had to drill out the PVC below to complete the circuit:
Now that I got the spring of the blue switch above making contact with the negative terminal on the bulb I tested it. I worked!. My flashlight is in the home stretch.
Paint:
Reassembly of all the old components back to where they were on the original insert.
JB-weld on the joint of the switch:
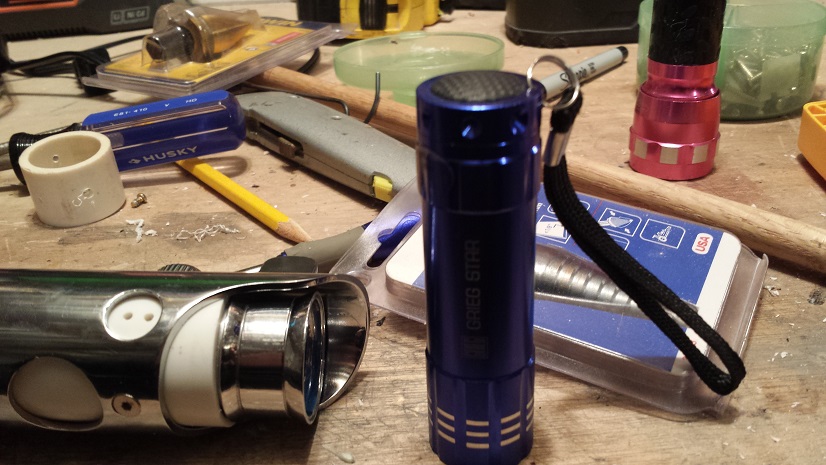
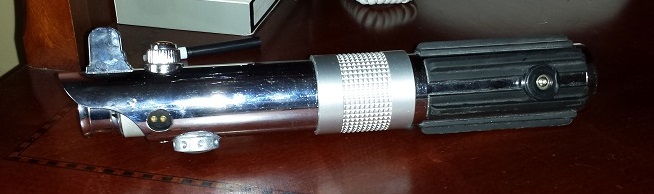
Touch-up paint and the below pictures are the final result:
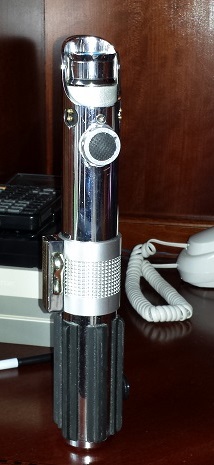
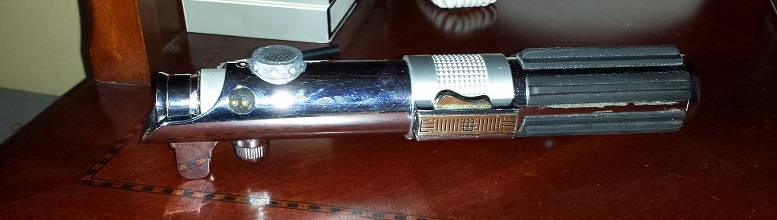
I painted the inside of the top of the light saber blue so that you see a blue hue from the side when it turns on.
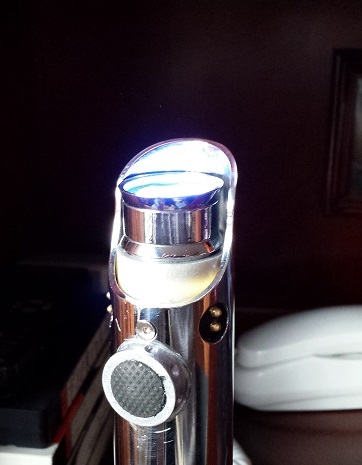
That's all for now. I rule!